
Frustrated with curls that just won’t cooperate?
You know you have curl potential, but you just can’t get it right.
I’ve been there. I grew up in the humid southeastern United States, where my hair was more frizzy than curly. It took me into my late 20s to learn how to properly treat my hair – not just tame it but treat it well, the way my hair deserves to be treated in all its fabulous curly glory.

My curls have leveled up in the last 10 years as I’ve learned more about curly hair care. The most helpful exercise for me was finding people with similar hair types and following their tips.
Recently, my friends started asking me about my curly hair routine. So here are my tips for taking your 2C-3A curly hair from frizz to fab, distilled from years of experience.
When it comes to curly hair, your technique is just as important as the products you use. So make sure to read the tips below before checking out my best curly hair product recommendations. If you’re looking for a deep treatment for your curly hair, check out my favorite one here.
You can find a complete list of the items mentioned below on my Amazon storefront.
Check out my most recently updated curly hair routine and products here.
Putting Together a Curly Hair Routine
Tips for putting together your own curly hair routine:
- Consider your curly hair type and hair porosity.
- Keep in mind that your hair and scalp will take time to adjust to changes.
- Your styling technique matters just as much as your products.
- The shape and style of your haircut will affect your curls.
- Your needs may change based on the climate and water hardness where you live.
Most of all, be patient! You’ll see my own curly hair journey spans a lifetime. You may see some results right away, but even better results weeks later. My personal rule is to give my hair 4 weeks to adjust to any changes before I judge whether something’s working.
In the months and years since I switched to my current hair care routine, my curls have become stronger, thicker, softer, and more resilient. I recently went to a wedding, and when people saw photos from the event, they asked who styled my hair. (Spoiler alert: it was me!)
Sometimes, straight or wavy hair just needs the right treatment to encourage its natural curl. This is my guide to starting your curly hair journey or improving your curly hair game.
As a disclaimer, this post has affiliate links. That means I could earn a small commission on products you purchase through my site. This does not affect the price you pay or the way I write about the products. I only recommend products that I personally use and love!
About My 2C-3A Curly Hair
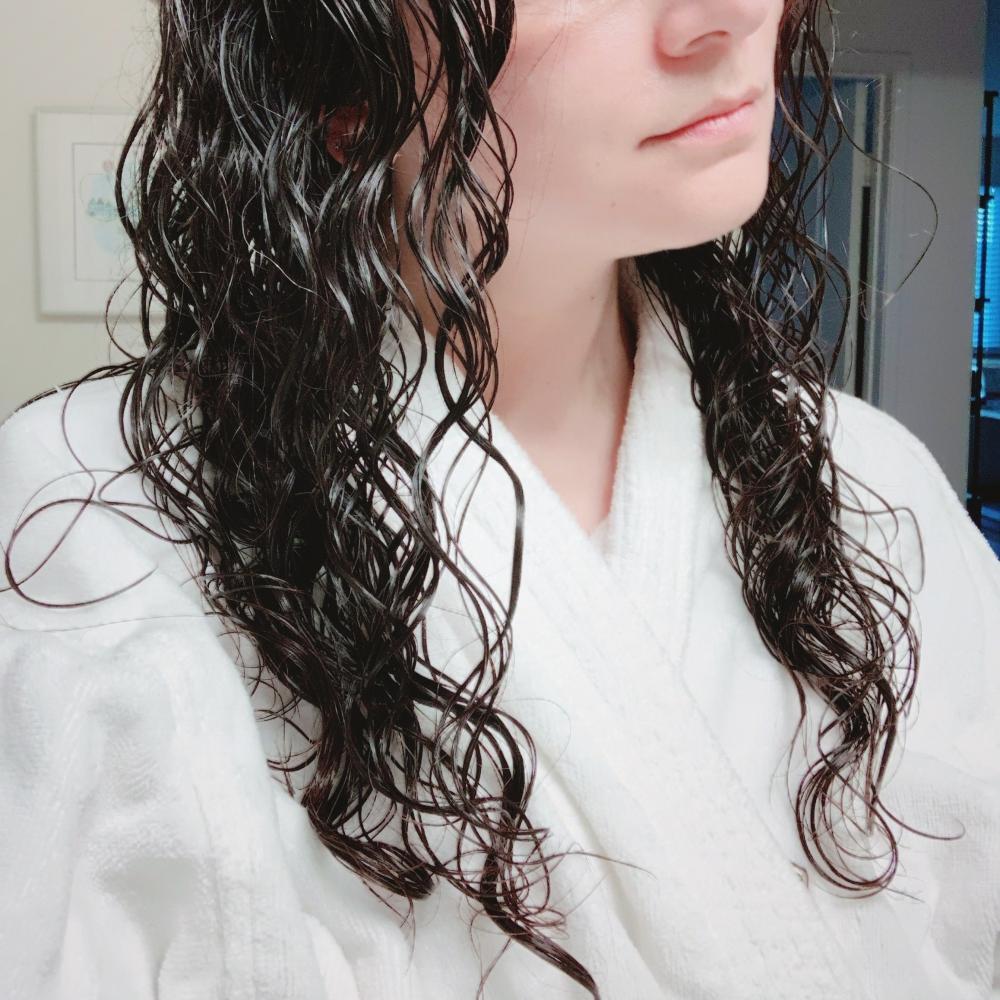
I have fine, bra-strap length, 2C-3A curls with low-to-medium porosity. My curls start near my roots, with ringlets that range from loose loops to tight springs about as thick as a piece of sidewalk chalk. My strands are slow to absorb water and dry quickly, especially near the ends.
My routine is currently color-free and heat-free. I can get lazy and go for long stretches between haircuts – my longest was 14 months. All in all, my hair care routine is pretty natural and low-maintenance.
Find out your hair type and hair porosity by reading more here.
I use as little product as possible because so many products weigh my hair down, making it heavy and limp. But my hair is prone to frizz and needs a little bit of something to add definition.
My Curly Hair Journey
I had thick, tight curls as a baby and kid, the product of Mediterranean-Middle Eastern genetics. In the humid southeastern U.S., my naturally curly hair often expressed itself as a giant ball of frizz. As an adolescent, I destroyed my curls by brushing my hair when it was dry. I usually wore my hair in a ponytail or bun, which further flattened any curl potential.
At one point, I got so fed up that I decided to chop off my hair into what I hoped would be a cute pixie cut. It did not go well, and the growing-out process was even worse. Thankfully, this was pre-social media.
In college, I would often straighten my hair with a flat iron at the highest temperature.
Finding The Curly Girl Method
I took my first step in the right direction around 2010 when I found the Curly Girl Method online. I decreased my shampooing to every other day and started using DevaCurl sulfate- and silicone-free products. I continued to straighten my hair occasionally, especially after getting it cut at the salon.

By 2014, my ends had dried to straw. DevaCurl was a step in the right direction, but my hair wasn’t getting the moisture it needed. I switched to a salon that specialized in curly hair, cut my losses by chopping my long strands into a bob, and found products that worked better.
I straightened my hair less and less often, mostly out of laziness, but also because my curls started to resist the straightening iron. After a while, I gave up the iron altogether – even after straightening, waves would win the battle and sneak back in within a few hours.
Now I can’t remember the last time I straightened my hair. By 2016, I had begun to understand my natural curls, working with them rather than fighting them.
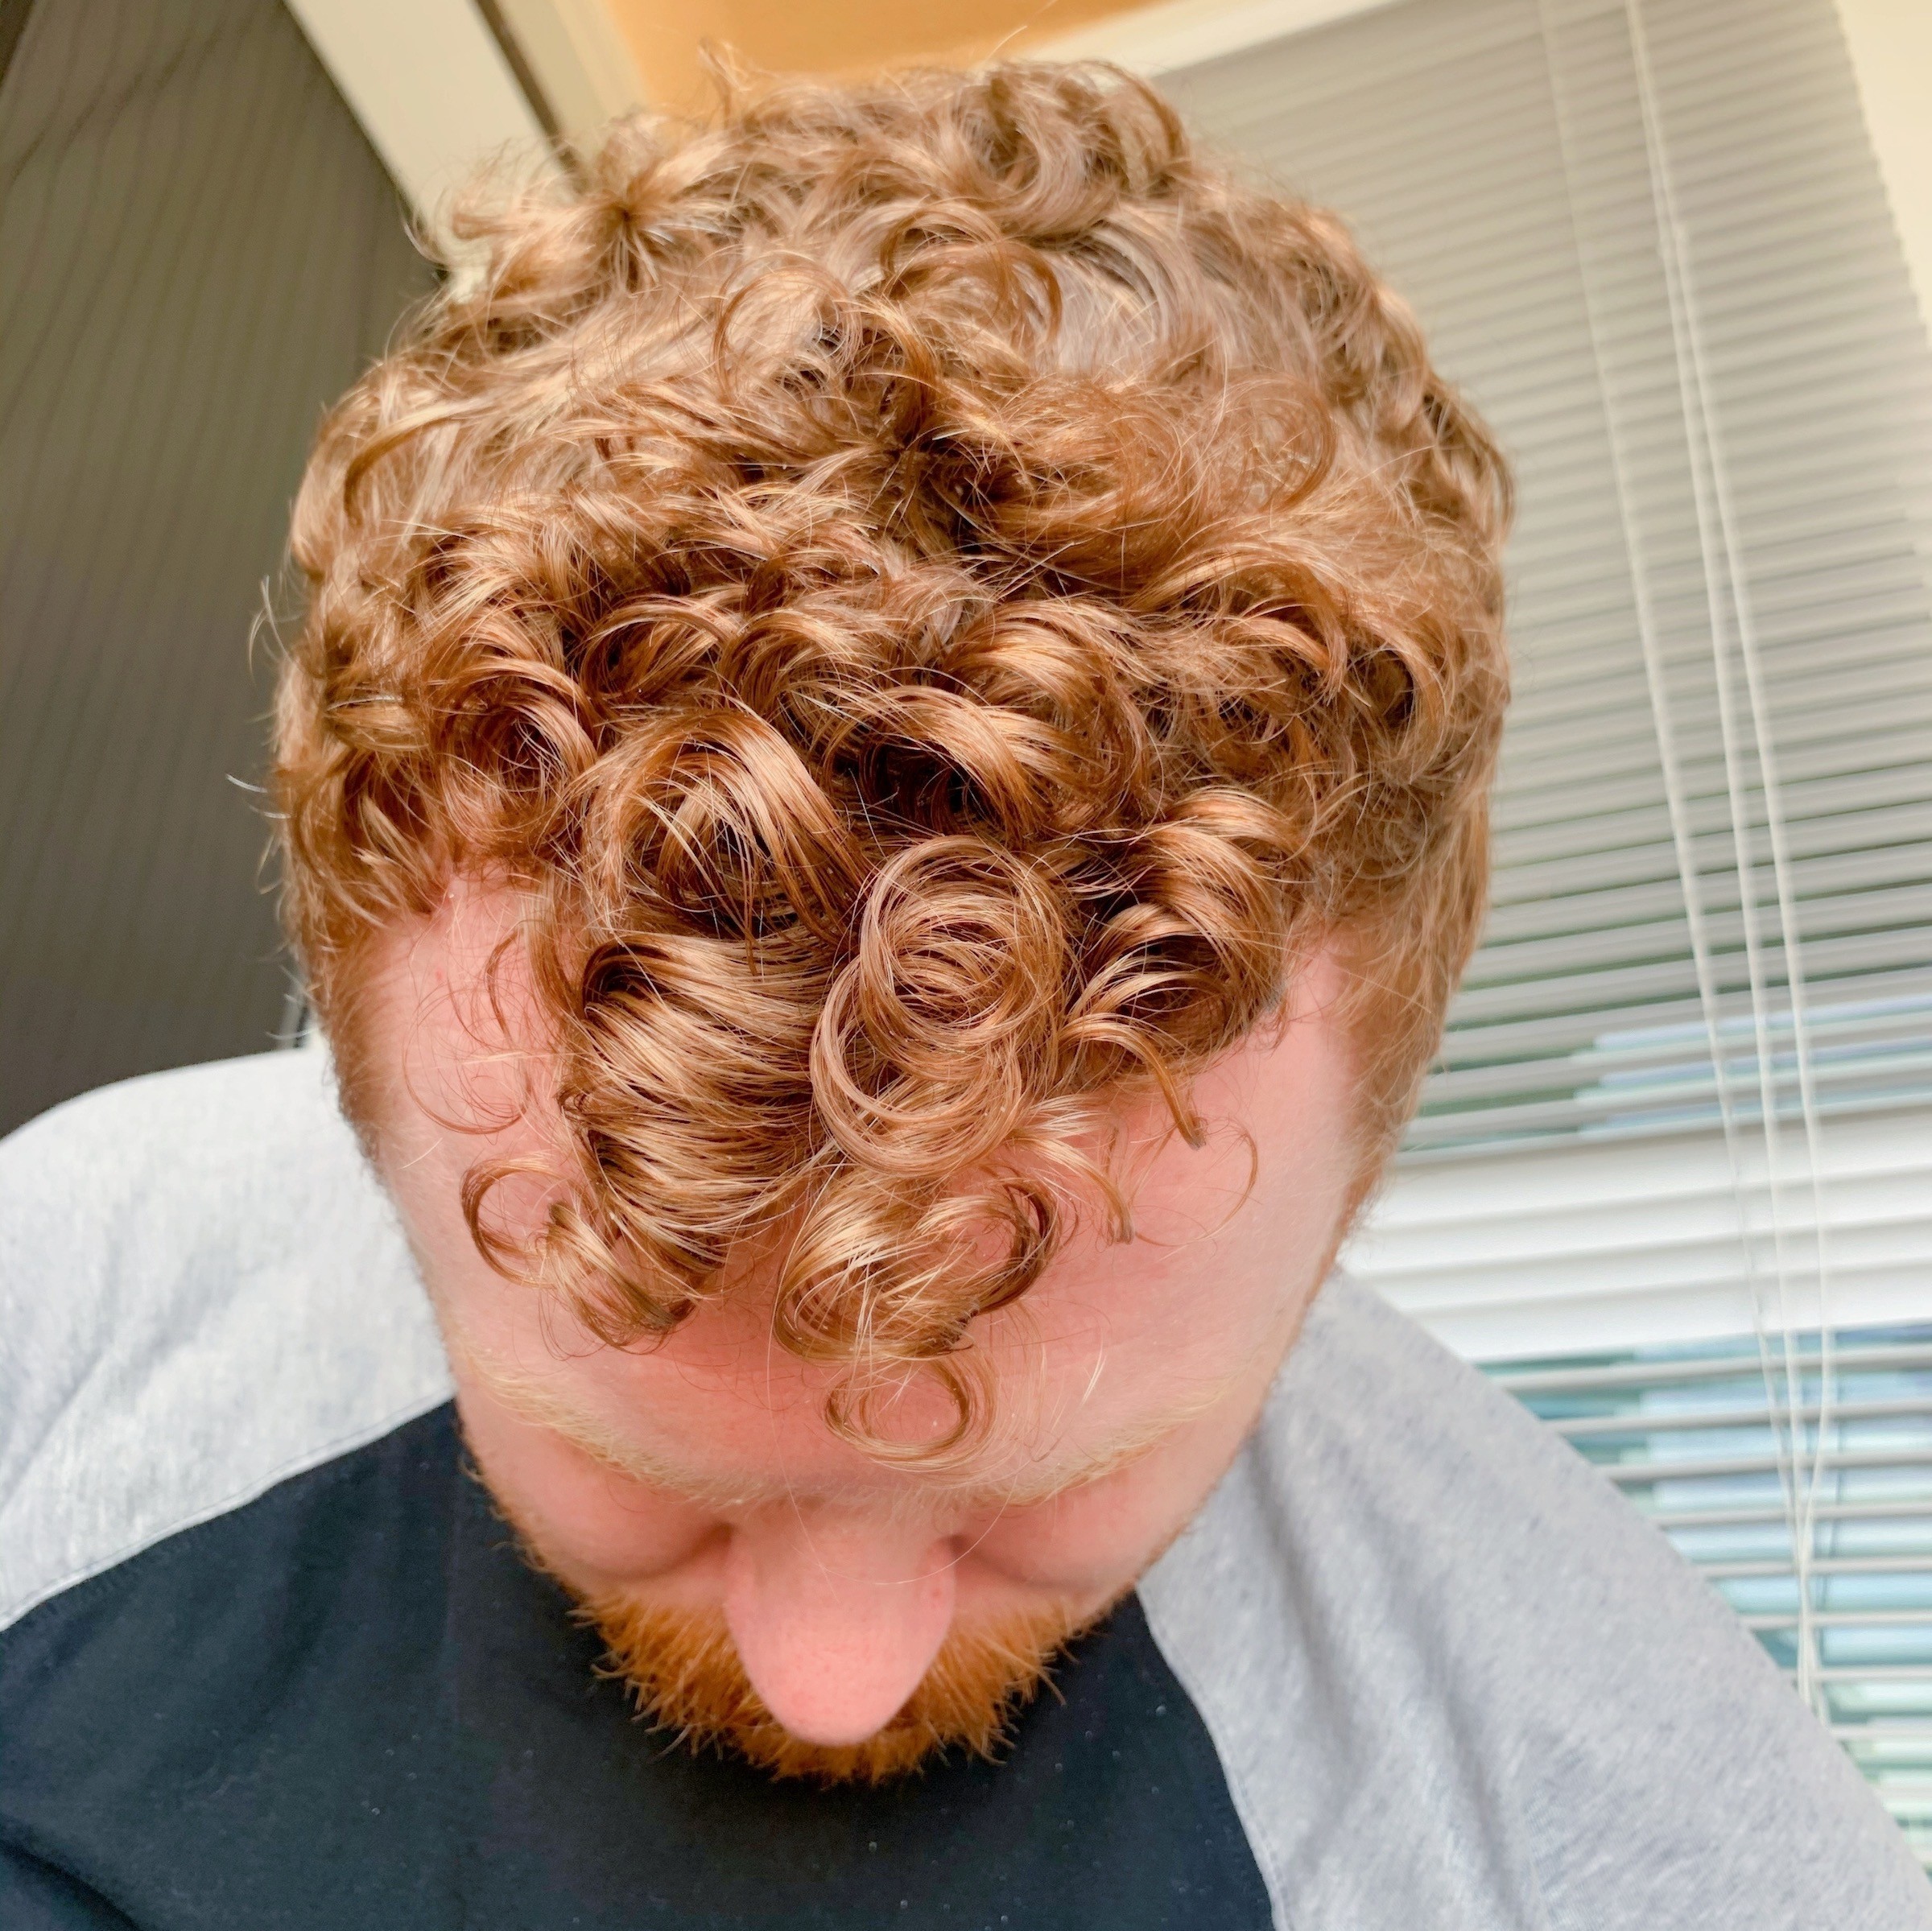
I used to consider myself lucky when I got a good hair day. Eventually, good hair days became my norm. I even converted my curly-haired partner to my methods, with results that delighted him.
Guess what, guys? These curly hair tips work for men, too!
Curly Hair Tips, Tricks, and Techniques
Some of these tips may seem self-explanatory, but many of them involved unlearning habits for me. Some of these things you don’t even think about!
1. Use a Wide-Tooth Comb
If you do only one thing to improve your curly hair, ditch your brush and get a wide-tooth comb. Or better yet, skip the comb altogether and just rake your fingers through your hair.
Seriously. This was my partner’s gateway to better curly hair. He started using the wide-tooth comb in my bathroom whenever he stayed over. He noticed a huge difference in his curls when he ditched his fine-tooth comb.
It’s such an easy fix, too. Very little effort, and the combs cost less than $6.
2026 update: I used a wide-tooth comb for years but recently switched to just using my fingers to comb through my hair when it’s wet. My curls end up thicker and bouncier this way.
2. Only Comb Your Hair When It’s Wet
Stop combing your hair when it’s dry. In fact, with curly hair, you should do most of your styling when your hair is wet. If you need to break up your curls, use your fingers.
What About Tangles?
To break apart tangles, coat your hair with conditioner, starting at the ends. Once the conditioner has had a minute to sink in, use your fingers to gently work through tangles from the ends up.
“Slip” refers to the quality of lubrication you get from your conditioner to detangle your strands. The worse your tangles, the more slip will help. The Biolage HydraSource Conditioning Balm has great slip.
I comb my hair just enough to get out the tangles, right before rinsing out my conditioner. I never comb my hair dry. Instead, I rewet with a spray bottle before combing or styling with products.
3. Pat Dry With a Microfiber Towel
Thick terrycloth towels make your hair more likely to frizz, especially if you rub it dry.
Instead, use either a microfiber towel or an old t-shirt. Pat your hair gently to dry. Don’t worry about absorbing all the moisture. You want your hair to stay wet for styling.
You can find more curly hair towel options in my updated post here.
4. Beware the Glop When Applying Product
Do you wonder why one part of your hair feels oily and heavy while other parts feel dry and frizzy?
Well… how do you actually apply conditioner to your hair?
Do you squeeze a glop of conditioner into your palm, slap that glop directly onto the back of your head, then try to spread it around?
There. You’ve got your answer.
It’s so simple, but I made this mistake for years.
To avoid the glop, first “activate” the product between your palms before applying it to your hair. Then work the product evenly through your locks.
5. “Activate” Products Before Applying
Most hair products work better when you “activate” them in your hands before applying them to your hair, especially shampoos and leave-in products. To activate your products, rub the amount you want to use between your palms for 5-10 seconds.
For shampoo, this helps the product bubble up and makes it easier to spread over your scalp.
For conditioners and leave-in products, this helps them spread more evenly over your hair.
My current favorite leave-in products are the Giovanni Direct Leave-In Weightless Moisture Conditioner, and the Innersense I Create Definition foam, I Create Lift foam, and the I Create Volume lotion.
6. Use the “Rake and Shake” Method to Style Your Hair
The “rake and shake” method is Ouidad salon’s signature styling technique. Use this styling method after you gently towel-dry your hair, while it’s still wet.
After activating your leave-in product between your hands, rake your fingers through your hair in sections, then shake your hair at the bottom. This helps define, loosen, and clump your curls.
You can get really detailed with the rake and shake method if you want, sectioning off pieces of your hair and doing them separately for the most curl definition. I do a low-maintenance version. I activate my leave-in product in my hands, then loosely rake and shake it through my hair. I finish by flipping my hair upside down and scrunching it up from the ends.
7. Cleansers Go on Your Scalp, Conditioners All Over
When cleansing your hair, focus on your scalp, where most of the oil and buildup happens. Gently massage shampoo onto your scalp with your fingertips. You don’t need to apply cleansers directly to your ends because when you rinse your scalp, the shampoo will naturally wash out through your ends.
When conditioning, start by applying conditioner to your scalp, then add more as needed, all the way down to the ends. I use plenty of conditioner – as much as it takes to get the slip I need to work through tangles with my fingers.
I learned recently from my curly hair specialized hairdresser that I should use conditioner all over my hair, from the roots to the ends. Now I start by applying conditioner to my roots first, then continue applying just as much as needed to cover the rest.
Give Your Conditioner Time to Work
I like to apply conditioner, then twist and pin my hair at the top of my head while I finish my shower. The steam from the shower helps the conditioner penetrate the hair follicle. This might only take a few minutes, but it helps, especially with tangles.
8. Stop Shampooing Every Day
Note: I used this approach for years, but I’ve since changed my routine. Now, I use a gentle clarifying shampoo every time I wash my hair. You can read more about my curly hair routine updates here. Many curly haired people swear by a more spread out shampoo schedule, so I’ve kept up this part of the guide in case that works best for you!
A big part of the curly hair process is maintaining your hair’s natural balance. Cleansing your hair too often with shampoo will strip it of its moisture and natural oils. But adjusting your shampoo schedule will take time. It’s a process!
How to Adjust Your Shampoo Schedule
If you’re used to shampooing every 1-2 days, switch to a gentle cleanser like the ones I recommend for 2C-3A curls. Then, gradually start spacing out your shampoo days.
Shampoo every 3 days for a month, then every 4 days for a month, then every 5 days, and so on. Use a co-wash or just conditioner for the days in between shampoos. Listen to the “feel” of your hair when adjusting your shampoo schedule. If you suddenly go from shampooing every other day to once a week, your scalp and hair might freak out.
It took me almost a year to adjust my schedule from shampooing every other day to about once a week. During the process, if I pushed my shampoo day off for too long, too soon, my scalp would get so oily and itchy that I couldn’t fall asleep until I showered and shampooed. Nowadays, I shampoo every time I wash my hair, which comes out to around 2, maybe 3 times per week. That’s just what works best for me after some trial and error.
9. Rinse Products Completely out of Your Hair
Make sure to rinse your products completely from your hair! This is big. While rinsing your hair, use the soft pads of your fingertips to massage the products off your scalp, then part through your hair strands to get all the product out. Learn how your hair feels when it’s truly rinsed off versus when it still has product in it.
Some people deliberately leave conditioner in their hair as a “leave-in.” I do not recommend this. For one, you never know how much product you’re actually washing out or leaving in your hair, so you get inconsistent results. You want better control than that when styling. Second, I prefer a leave-in conditioner that’s meant for that purpose. Most regular conditioners are made to be rinsed out completely.
Check Your Water Hardness and Pressure
When it comes to curly hair, water temperature doesn’t matter as much as water pressure. You can wash your hair with hot or cold water. But if your water pressure’s too high, it will strip your scalp of its natural oils. To adjust your water pressure, you can easily install a shower pressure regulator.
I also use a shower filter because I live in Los Angeles, where the water is very hard, with minerals like calcium that also cause buildup. The shower filter helps keep the minerals in the water from building up in my hair.
10. Protect Your Curls Overnight
If you want better second-day hair, and if your hair is long enough to gather into a ponytail, I highly recommend pineappling your hair overnight. This can be done with a satin scrunchie, but I personally love these curly hair ties. You can also wrap your hair in a satin scarf or bonnet for even better protection.
Second-day hair is important to me because I usually shower in the evenings and don’t wash my hair in the mornings. If I don’t pineapple my hair overnight, I end up crushing most of my curls by the next day. The pineapple helps keep curls out of the way and un-crushed!
Sleep With a Silk or Satin Pillowcase
Silk pillowcases reduce frizz and breakage!
This is another curly-hair perk that my partner gets whenever he sleeps over.
11. If You’re Going to Use Heat, Make It Hot & Gentle
This is something I just learned! Normally, I don’t use heat on my hair at all. Whenever I did, I always kept it on low heat and low power. Apparently, this is wrong!
At my last haircut, my stylist told me that if I ever diffuse my hair, I should use high heat and low power. The reason? The more your hair gets jostled about, the more frizz. Low heat takes your hair longer to dry, giving your wet hair more time to get bumped and moved.
I hate sweating over a blow dryer for longer than I have to, so it’s important to invest in a good hair dryer to seal in your style without frizz.
BONUS: Find a Hair Stylist Who Specializes in Curly Hair
This seriously changed my curly hair game!
When I first moved, I started getting my hair cut at a regular salon. My hairstylist did not know how to cut, shape, or style curly hair – at all. She’d give me layers suited for straight hair, then blow-dry my hair straight so it would look great that day. But when I wore my hair natural, my head looked like a mushroom cloud: a big poof up top with a sad tail coming down the nape of my neck. It was terrible.
My roommate and fellow curly girl recommended her longtime hairstylist, who works at a salon specializing in curly hair. My new hairstylist takes amazing care of trimming my locks so that my curls can do their thing and shine – no mushroom clouds or unintentional mullets. Even when I go a year without a trim, my hair still looks great.
If you’re ready to make the leap, the extra commitment to your curls really pays off.
Now that you’ve read my best techniques for 2C/3A curly hair, check out my most recently updated curly hair routine and favorite curly hair products. Got any tricks I’ve missed? Share them in the comments below!
You can find a complete list of the items mentioned in this post on my Amazon storefront.
Comments
Thank you for this helpful advice specifically for 2c/3a hair! As someone with curly hair who only recently realized I’ve been ‘doing my hair wrong’ my entire life (but didn’t know where to start doing things right) I’m so happy to find such a detailed list all in one place! <3
Yay! I’m so glad this was helpful. Wishing you luck on your curly hair journey!